
Every Day We Fight Hit Chance: Manual Aiming and Ballistics Guide
Every Day We Fight has no percentage-based hit chance system. All ballistic accuracy depends on manual first-person aiming, physical line of sight, and reticle spread, meaning your crosshair placement and target tracking decide whether a projectile connects.
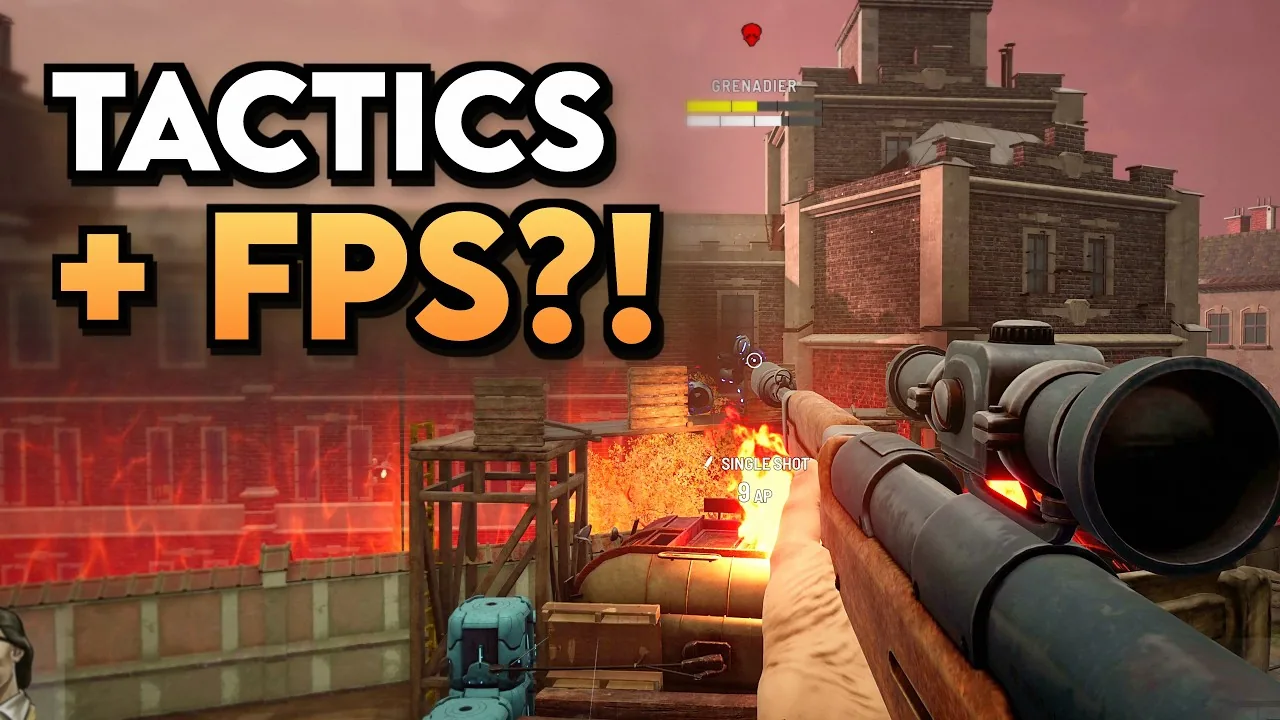
Every Day We Fight has no percentage-based hit chance system. All ballistic accuracy depends on manual first-person aiming, physical line of sight, and reticle spread, meaning your crosshair placement and target tracking decide whether a projectile connects.
Ballistics Replace Turn-Based Dice Rolls
Traditional grid tactics titles calculate hit probability through behind-the-scenes math that can cause a point-blank shot to miss at ninety-five percent probability. Every Day We Fight removes that calculation entirely. When an attack command executes, the camera transitions directly behind the firearm barrel for manual aiming in real time.
Bullet paths function on projectile geometry. If an enemy stands behind a wooden crate or concrete pillar, the solid geometry stops incoming rounds. Stray pellets or bullets pass clean through visible cracks in barricades, hitting whatever enemy silhouette remains exposed. You control the trigger pull, weapon kick, and exact timing rather than relying on an arbitrary roll.
Reticle Spread and Center Weighting
When lining up a target down the sights, an outer targeting circle appears around the center reticle dot. Bullets can strike anywhere within that designated circle, though developer Christopher Odd noted that projectiles carry an internal fifty percent weighting toward the center pip. The remaining half of the shots scatter across the rest of the outer circle area.
Target distance dictates effective accuracy through the principle of filling the circle. When an enemy Rifter stands close enough that their body model completely fills the boundary of your reticle, every single bullet will strike them. If an enemy stands far down a street and occupies only a small speck in the center of the ring, individual rounds can easily land in the surrounding negative space.
Holding down the steady breath key tightens the reticle perimeter and zooms the view closer to the target. Steadying your breath requires action points—often around three AP depending on the equipped gun and sight—though releasing the key without firing refunds those spent points back into your turn budget. Equipping mods through the weapon attachments guide allows you to reduce bloom, cut base aim costs, and extend effective damage drop-off ranges.
Physical Cover and Free Leaning Angles
Because incoming and outgoing fire depends on direct line of sight, low and full cover function strictly as physical shields. Standing behind low barriers protects the torso while leaving character heads vulnerable to return fire. Full barriers block frontal fire completely, but protruding limbs remain targetable by enemies who possess clear flanking angles.
Repositioning around cover does not always require burning movement points. While positioned behind solid structures, pressing the lean key or swapping shoulder perspective shifts your weapon around the edge without spending action points. This lets you inspect low elevation targets or peer past burned vehicles without leaving defensive cover.
Enemies also move when fired upon, which requires tracking them during your attack. When you pull the trigger, time decelerates, yet targets still scramble toward alternative positions. Leading a sprinting target becomes necessary to ensure that multiple rounds from burst or automatic weapons connect with exposed flesh.
Choosing Aiming Techniques by Combat Scenario
Selecting the right firing stance determines how far your action point budget stretches during an encounter.
| Aiming Technique | Tactical Match | Action Point Requirement |
|---|---|---|
| Center-mass hipfire | Fast-moving grunts and nearby targets | Standard shot cost (2 to 4 AP on sidearms and automatics) |
| Steady breath zoom | Distant helmets and exposed weak spots | Standard shot cost plus roughly 3 AP for reticle tightening |
| Free lean angle | Flanking around barriers from full cover | 0 AP modifier to shift shoulder view or lean out |
| Proximity punch | Armored heavy Rifters at point-blank range | 5 AP flat cost that bypasses shields and armor plates |
Tracking Moving Targets and Enemy Reactions
Enemy units do not remain stationary when bullets start flying. Both player Thorns and alien Rifters possess reflex actions that allow defensive scrambles outside of their active turns. An uninjured Guardian or Engineer will regularly dive toward new cover the moment a grenade lands or an automatic burst begins.
Baiting out these defensive reactions preserves expensive munitions. Firing a cheap, two-action-point pistol shot forces a Rifter to burn its scramble token early. Once the enemy completes its defensive slide and exhausts its reaction, you can safely bring in heavy munitions or explosive launchers without fear of the target dodging the primary impact.
Targeting specific body segments alters overall combat effectiveness. Striking head armor degrades helmets and opens targets up to increased headshot multipliers. Firing at the rear power components of heavy Enforcers destroys their total health pool far faster than shooting the heavy ballistic plating on their front. Dylan can also bypass protective layers entirely by spending five action points on a melee punch, stunning standard infantry units for a full turn.
Combat responsiveness and recoil values scale across game modes. Players can adjust weapon behavior, target health, and aiming tolerances through the system difficulty settings, tuning the shooting mechanics to match their preference between strict tactical simulation and relaxed real-time combat.